
Get catalog-worthy Stylebook closet photos by learning these easy tricks that will help you take better iPhone photos for your Stylebook closet. Taking your photos near a bright window and choosing the right background are two of the best things you can do, but knowing how to adjust the iPhone camera will yield even better results.
Don’t forget you don’t need to take photos at all! Stylebook’s Clipper Tool and Universal Clipboard allow you import clothing photos directly from almost any website. This means you can find store photo or just add similar pieces from online!
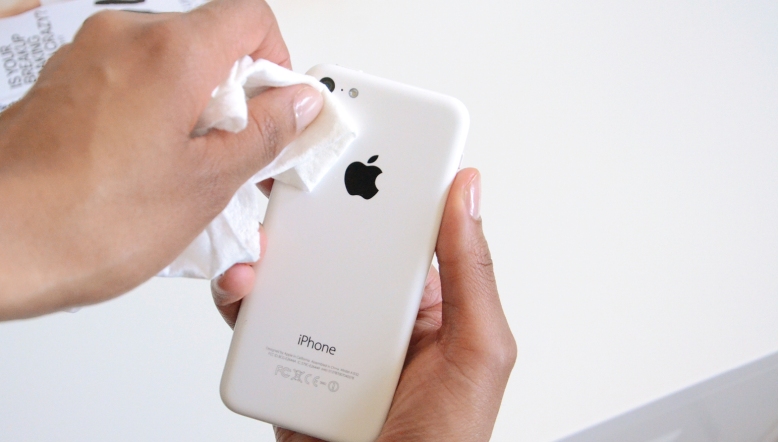
1. Wipe Camera Lens
Before you take a photo, always wipe off your camera lens. It’s really simple, but makes a huge difference. Dust, hand lotion, and dirt will cause your iPhone camera to take hazy, blurry photos.

2. Adjust Focus
To readjust the focus, just tap the screen in the area you want to focus on. If you’re taking a photo of a shirt, tap the shirt to make it the sharpest part of the photo. On an iPhone, this will also adjust the exposure for that item. Your phone will try to adjust the brightness of the photo for the area you tapped and this can sometimes make the picture too light or too dark. But don’t worry – you can adjust the exposure independently with the next tip.
3. Adjust Exposure
Sometimes your photo looks way too bright or dark, but in iOS 8 and later, you can manually adjust the exposure. While taking a photo hold your finger over the screen and you’ll see a yellow square with a small vertical slider next to it. Use the slider to adjust the brightness of your photo. Slide up to lighten the photo and slide down to darken it. This is great when photographing very dark items since sometimes the details get lost in the shadows.

4. Use The Volume Button To Take The Photo
Trying to tap the shutter button on the screen can mess up your composition so just squeeze the volume button on the side to take your photo.
5. Neatly Set Up Each Shot
If your clothes and photo background look sloppy, the Stylebook photos will never have the catalog-like appearance you want. Take the time to neatly arrange your clothes and smooth out the background to get the best possible results.
- Point jacket and shirt sleeves down. I hold the shoulder in place as I straighten the sleeve down towards the hem like the jacket seen below.
- For denim, fold excess fabric near the crotch behind one leg so the fabric doesn’t bunch up.
- Smooth the fabric of the clothing and background before you take a photo

6. Don’t Forget The Key Stylebook Photo Rules
- Take your photo in bright natural light.
- Use a solid smooth background (like a sheet) that is a different color from the colors in the clothing you’re photographing.
- Make sure nothing else is in the picture, like your feet or the edge of the rug. The background sheet should cover the entire frame of the photo. You can see what I mean in the photo above. In this example, the yellow sheet is completely covering all the edges of the photo on the screen.
Here’s another tip:
There’s no need to drag every item out of your closet when you’re getting started with Stylebook. Just start with items you’ve been wearing often lately and items from the current season. You can also find recent purchases in the Shopping section so you won’t have to photograph them.

Awesom work!! check these camera hacks aswell http://www.whatsuptrendy.com/all/community/12-diy-camera-hacks-make-taking-perfect-picture-easier/
LikeLike
What background would you use for an item that’s multicolored; particularly one with contrasting colors?
LikeLike
Use a color that is completely different from all of the colors in the pattern. For example if you want to photograph a green, blue, and white dress use a red or yellow background. We have a helpful post about that here: https://stylebookapptips.wordpress.com/2015/01/28/choosing-a-good-background-removal-color/
LikeLike